So, you need more IPs assigned to your Virtual Machine? No problem! As long as you have spare IPs purchased in your Enterprise Cloud Pool you will be able to follow the guide below to get this done:
1. Select "Services - Enterprise Cloud" from the Navigation Bar.
2. Select the Enterprise Cloud Pool you wish to work with.
3. Click on the VM you'd like to edit.
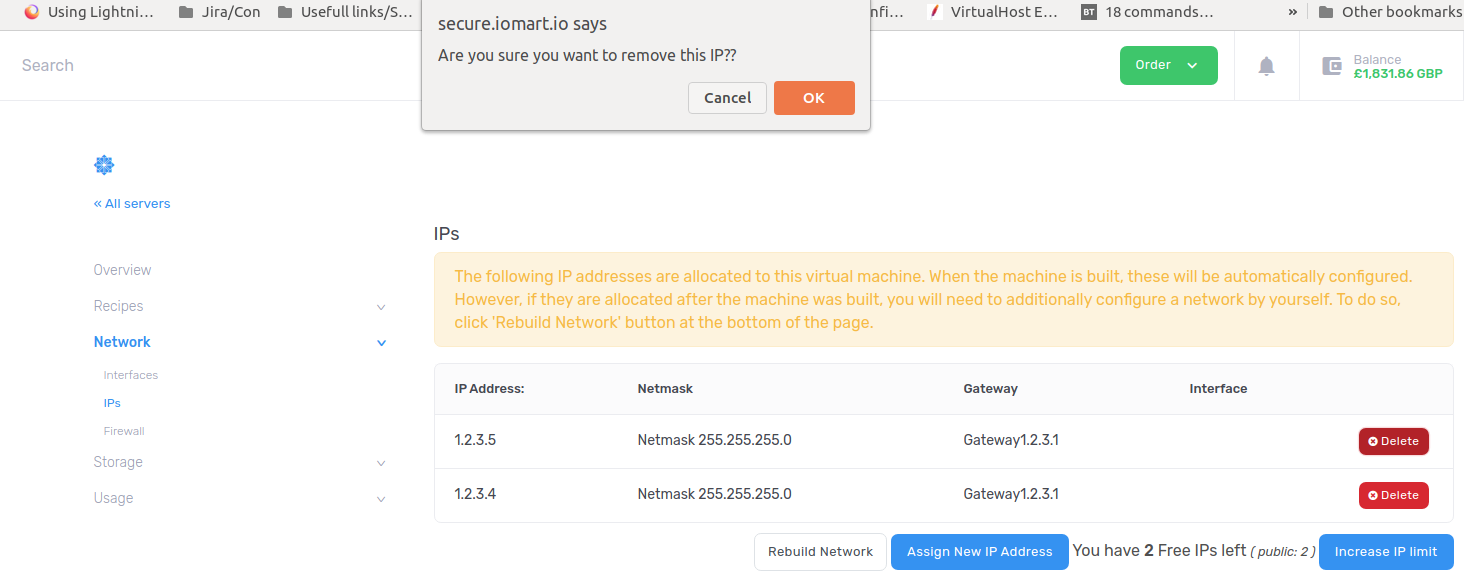
4. In the "Network" tab select "IPs".
5. Ensure you have IPs free (highlighted) then click "Assign New IP Address"
6. Select the Interface it should be assigned to (On the VM) then select the IP Subnet you'd like your IP from (Any is fine), then click "Assign New IP Address"
7. Now that the IP has been assigned you must rebuild the network for it to take effect.
NOTE - This will take the VM offline for a few minutes whilst the changes are made
8. The new IP should now be usable
Deleting IPs
You can remove IPs from the server by clicking the "Delete" icon against the associated IP, this will also require a Network Rebuild to finalize, use step 6 in the above Guide to perform the rebuild.
-