So, you've ordered one of our Enterprise Cloud pools and now need to create your first virtual machine to get going, here's how you do it;
1. Log into your account and using the Navigation Bar select "Services > Enterprise Cloud"
2. Select the Enterprise Cloud pool you intend to create a VM on, for new users there may be only one.
3. In the Resources page select "Add new server" to begin the process.
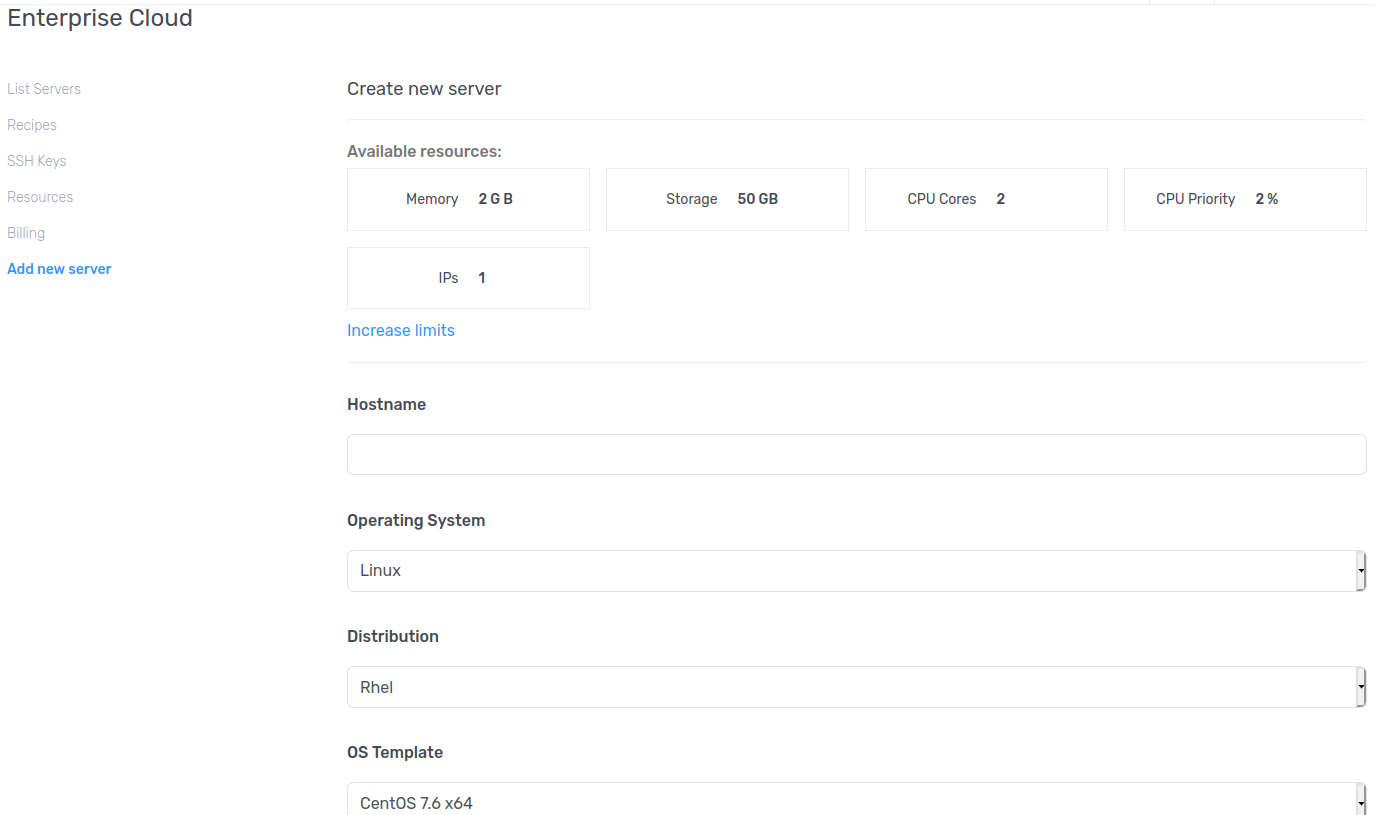
5. Select your template OS (Windows, Linux etc), your distribution and your specific template. (Tip - CentOS is categorized under RHEL)
6. Choose a secure password, leaving this blank will generate a random secure password. This can be changed/reset later
7. Select the resources to be assigned to the VM, if your pool is small this may be all of them - that is OK
8. Select a SWAP size, maximum allowed is 1GB - this does not affect performance as SWAP is managed at infrastructure level, not VM level - don't worry about this.
9. Click "Create a new Virtual Machine" - you're done now! Allow a few minutes to create the VM and it will update. (Windows VMs can take longer due to larger template size and key activation)
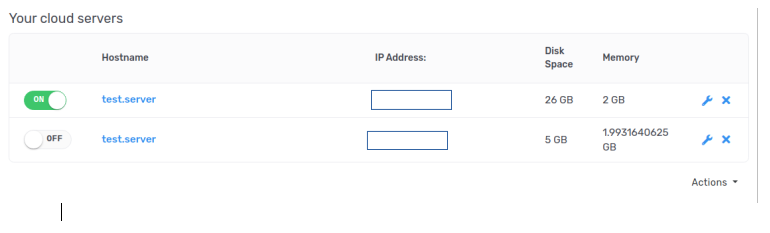
10. Your VM is now created. Below is an example of a created VM showing on the dashboard